Organizing and crafting part two.
Hey loves!
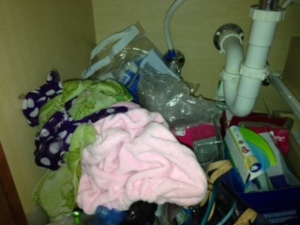
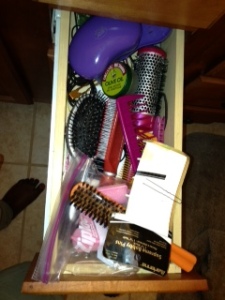
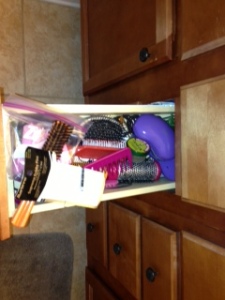
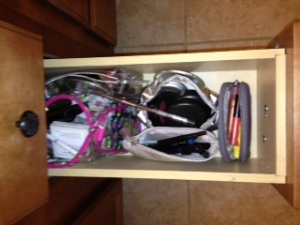
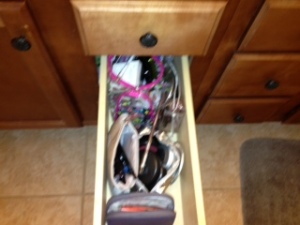
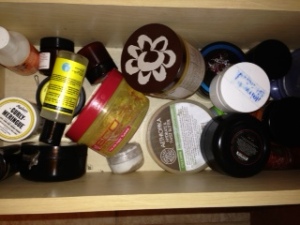
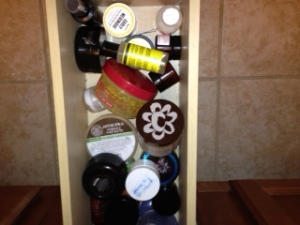
I know you all got a kick out my last crafting and organizing tutorial so here is another one. In preparation for spring cleaning, I did A LOT of organizing/discarding before hand so I could focus on the cleaning itself (blog post coming, don’t fret 🙂 one of the things I HAD to organize was the storage in my bathroom where I keep hair products, hair tools, make up and beauty products. You can see the before here of my drawers and the cabinet under my sink. (So sad, I know!)
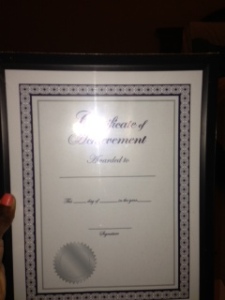
For the organization under the sink I made a trip to the handy-dandy Dollar Tree and purchased a picture fame, a storage compartment and some candy to keep me going (vegan of course :).
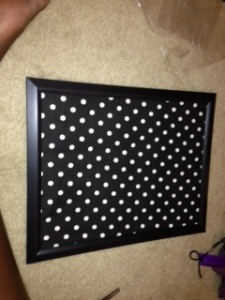
I then went to my craft room and grabbed the glue gun and fabric, I used the last of the black and white polka dot I used on other craft project explained here. I got some picture-hanging hooks from the garage. (Yes, home owners just have that lying around). Then, I got to work.
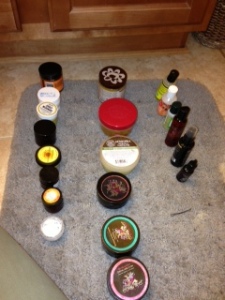
The first step to organizing is taking inventory of what you own and what is staying or going. That is what I did with the items under my sink. I separated them into hair products, hair tools and beauty products. I threw away what I hadn’t used Ina while; what I wasn’t going to use and what was too old to stay.
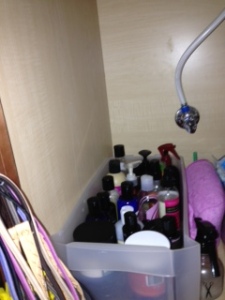
With what was left I organized the hair products by category (leave-ins, deep conditioners, moisturizers, etc.) and organized them neatly, making sure they are easily accessible, in a bit I already had.
I took the organizer from the dollar store and did the same (organized, discarded, place neatly, ensuring accessibility,) with beauty products.
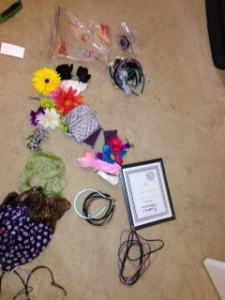
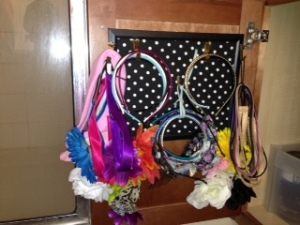
For my hair accessories I used the same process I explained when my earring display. Instead of applying wire I applied the hooks normally used to hang wall art and I used those to hang my headbands (organized by style of course) I then got some one-inch wired ribbon and cut two strips about three inches long. You can use more or less depending on the space you have available. I then added my hair bows to the ribbon. (Remember, accesiblility is key. ) I then mounted a walk hook to the inside of a cabinet door and hung the picture frame.
I am thoroughly satisfied!!! This is by far one of the best things I have done.
Now, on to the drawers, I attempted to follow this YouTube tutorial but this was WAY more complex than I required. I am not a make up artist and definitely do not have the space capacity the demonstrator did in the video.
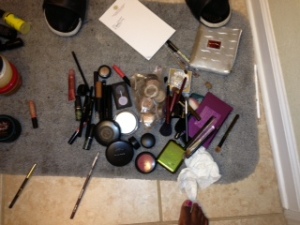
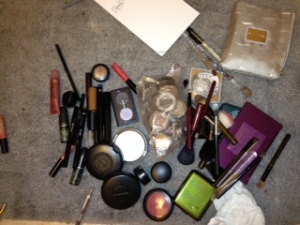
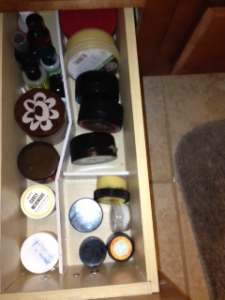
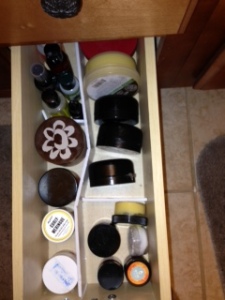
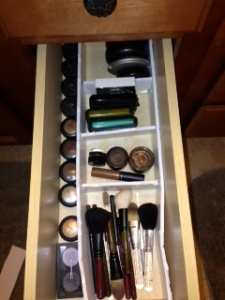
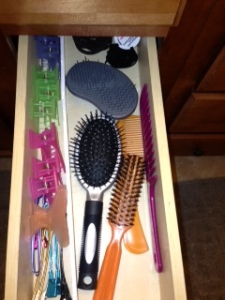
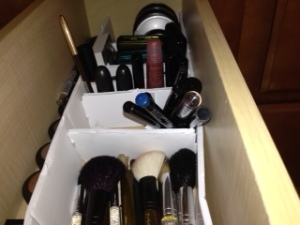
So I separated each drawer on the floor by products type (eye shadow, foundations, brushes, etc. I did this for each drawer- I also have a drawer where I keep my combs, brushes, clips, hair pins and hair ties as well a drawer of hair products (yea, I am a bit of a product junkie).
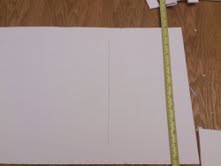
I then used just half 1 extra -large foam board from Hobby Lobby and measured the length and width of the compartments I would need for maximum accessibility. The Mr. Was a great help during this process 🙂 make sure your measurements are very accurate. I thought mines were, but we has to go back to the board and cuts few more times.
After you have the boards cut for your specific compartments, assemble by simply placing the boards how you see fit (according to the pieces you cut. I did not use any glue or anything like that. The tension between the boards is sufficient. Plus, this gives you the opportunity to move some things around of your collection grows.
I am in love with this as well. I have no idea why I did not so this sooner!
Share, comment and enjoy the visual process
